
How to Turn One Product Photo Into a Full Shopify Visual Set
If your product photo is decent but not enough to carry product pages, ads, and blog content, you do not need a reshoot. You need a workflow that turns one source image into a small set of channel-specific visuals. Supra AI Photo Studio is built for that: background removal, upscaling, try-on, object placement, and AI video output in one Shopify-friendly flow.
What you will get from this workflow
- A cleaner catalog image for product pages.
- A lifestyle version for collections and landing pages.
- A try-on or mockup when the product needs context.
- A stronger starting point for short ad videos.
If you want the broader playbook for deciding which kind of edit to use, pair this guide with A Practical Shopify Product Photo Decision Tree for AI Editing, How I Turn Weak Shopify Product Photos Into Studio-Grade Listings, How to Build a Shopify Product Photo Pipeline That Covers Every Channel, and How I Turn One Product Photo Into Try-On, Lifestyle, And Ad Assets.
Start With the Right Source Photo
A single photo can stretch surprisingly far if it is sharp, evenly lit, and not already distorted. The AI tools work best when the product shape is clear. If the image is noisy or dull, start with enhancement first: remove the background, correct lighting, and upscale before moving to scene changes.
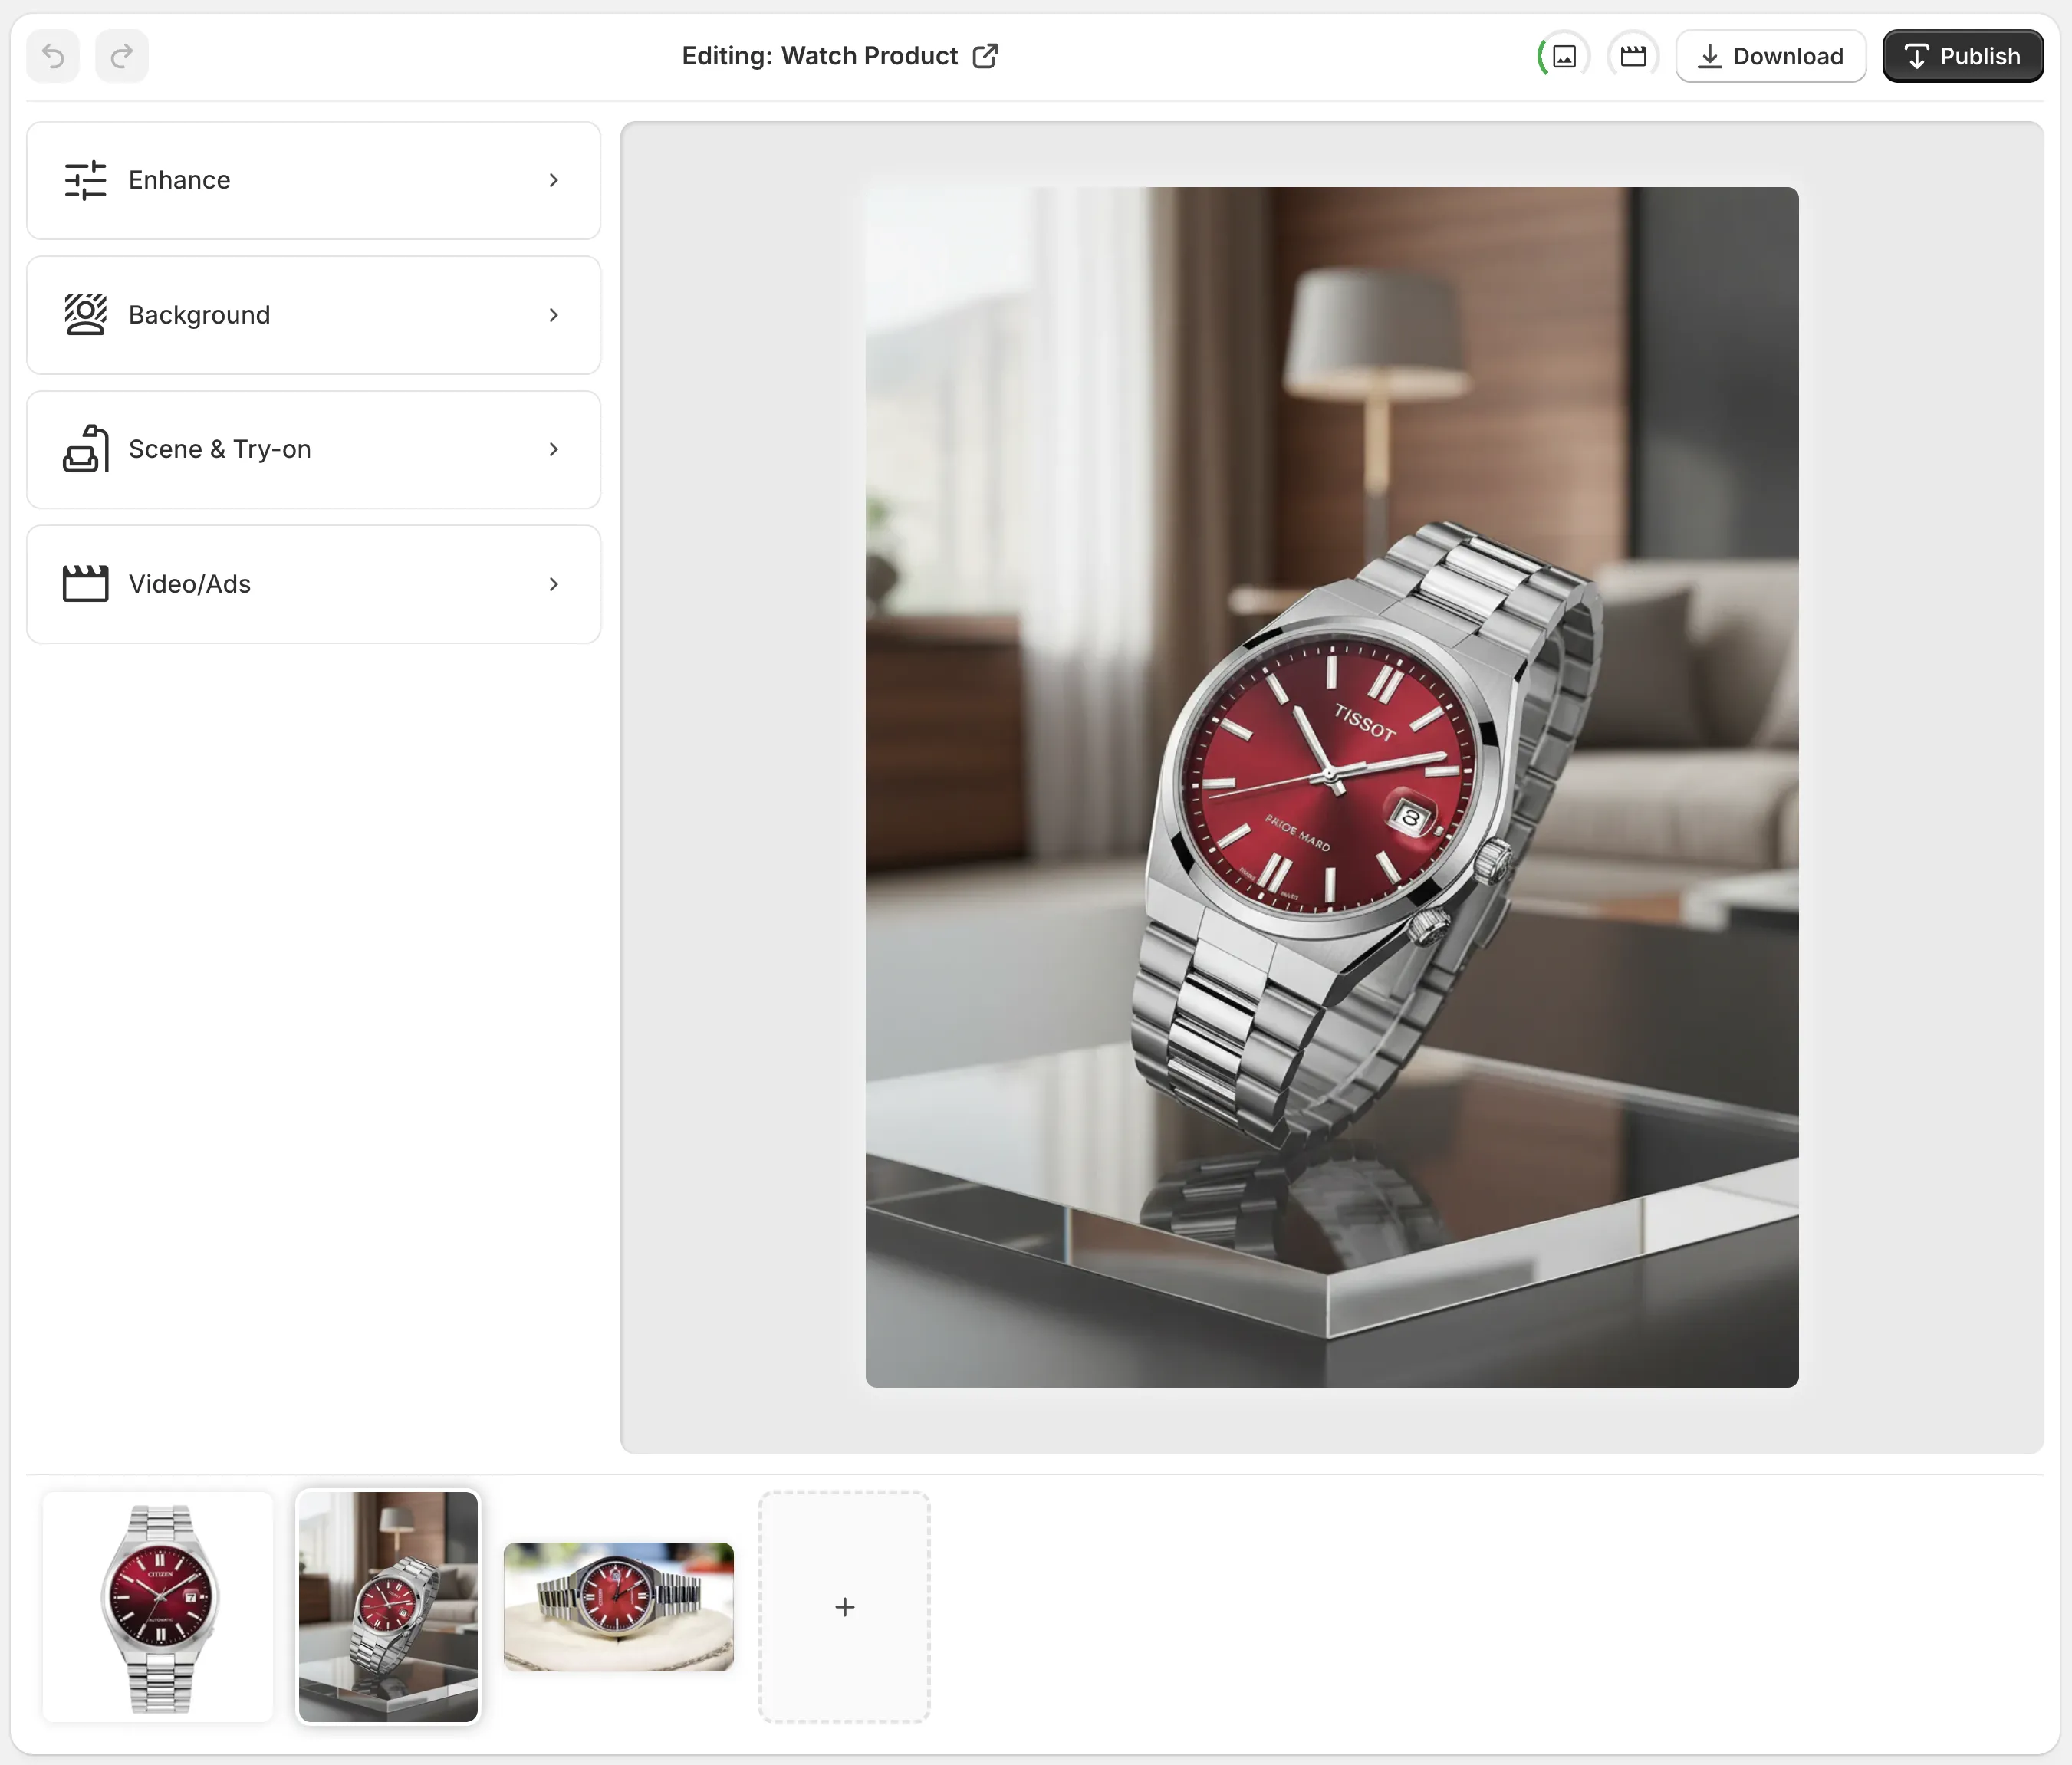
The editor layout matters because it keeps the workflow obvious: choose the product, edit the image, review the gallery, and publish when the result is ready. That is the right mental model for ecommerce: improve one asset, then branch it into several uses.
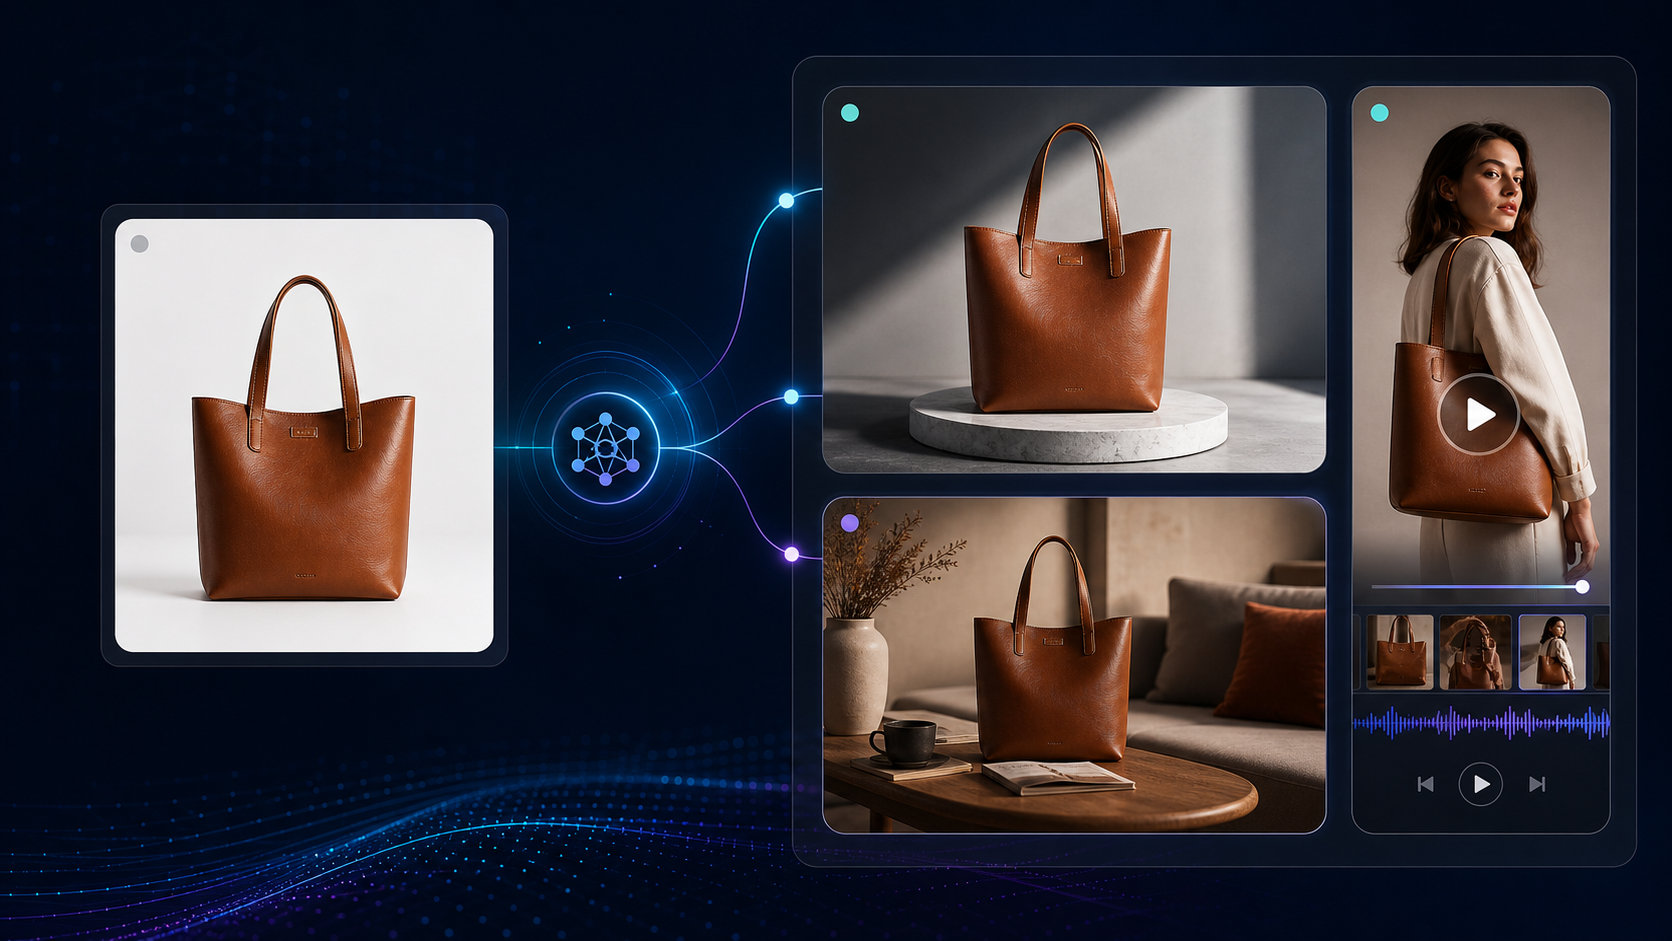
Match The Output To The Channel
Not every channel needs the same visual.
- Product pages usually need the cleanest version of the photo, with accurate color and fewer distractions.
- Collection pages and landing pages usually benefit from a lifestyle scene or an object-placement image.
- Ads and social posts usually need motion, so a short AI video or b-roll clip can do more work than a still.
- Fashion, jewelry, and accessories usually need a try-on or mockup so shoppers can picture scale and fit.
That is why a good photo workflow is not just about making one image prettier. It is about generating the right asset for the job.
When Try-On Beats Object Placement
If the item is worn, try-on gives the customer context faster than a generic backdrop. That matters for apparel, accessories, and jewelry because shoppers want to see shape, proportion, and how the product sits on a real person.

Object placement is better when the setting matters more than the body. Think home decor, kitchen goods, desk accessories, or products that need a believable room context. If the item belongs in a scene, object placement usually creates a stronger result than a plain cutout.

The useful rule is simple: use try-on when fit and wear matter, use object placement when environment matters, and use enhancement when the photo already has the right context but needs a better finish.
A Repeatable Five-Step Workflow
Here is the version I would use if I had to turn one mediocre photo into a full content set every week.
- Upload the clearest product image you have.
- Run background removal or enhancement first if the image needs cleanup.
- Create one catalog-safe version and one lifestyle version.
- Add a try-on or mockup output if the product category benefits from context.
- Generate video last, after the still images are approved.
That sequence matters because it keeps you from over-editing too early. If the base image is weak, fix the base first. If the product needs storytelling, move into lifestyle or try-on second. If you need ad creative, convert the approved still into motion afterward.
Keep The Edit Believable
The biggest mistake with AI product photography is doing too much. Good ecommerce visuals still need to look like the product the shopper will receive.
- Keep the product color and silhouette accurate.
- Avoid scenes that overpower the product.
- Use enough style to make the image feel premium, but not so much that the item gets lost.
- Save drafts when a review step is useful, and publish only when the set feels coherent.
That is the main advantage of Supra AI Photo Studio: it helps you move faster without making the output look disconnected from the actual catalog.
If you want to see a more structured way to decide which edit to use first, the related guides above are worth reading together. They cover the photo decision tree, a stronger studio-grade cleanup process, and a full channel pipeline that keeps product photography consistent.
The Practical Next Step
If you only have one strong product photo, do not wait for a full shoot. Turn that image into a cleaner listing shot, one lifestyle version, and one ad-ready asset, then review the set before you publish it.
You can test that workflow on the Supra AI Photo Studio landing page or install it from the Shopify App Store. Start with the free plan, build one reviewable set, and reuse the same process on the next product.