
How To Shoot And Edit Shopify Product Photos That Convert
If your store traffic is healthy but add-to-carts lag, your product photography is often the missing lever. This practical guide shows how to plan, shoot, and edit Shopify product photos that convert — and how to finish the job fast with an AI product photo editor for Shopify.
What conversion-ready product photos look like
High-converting images do three things consistently:
- Clarity: the product is sharp, well lit, and color-accurate on all devices.
- Consistency: angles, backgrounds, and crops match across the catalog.
- Context: lifestyle shots and on-model images show scale, fit, and use.
Add in speed-to-publish and you have a repeatable system, not a one-off photoshoot.
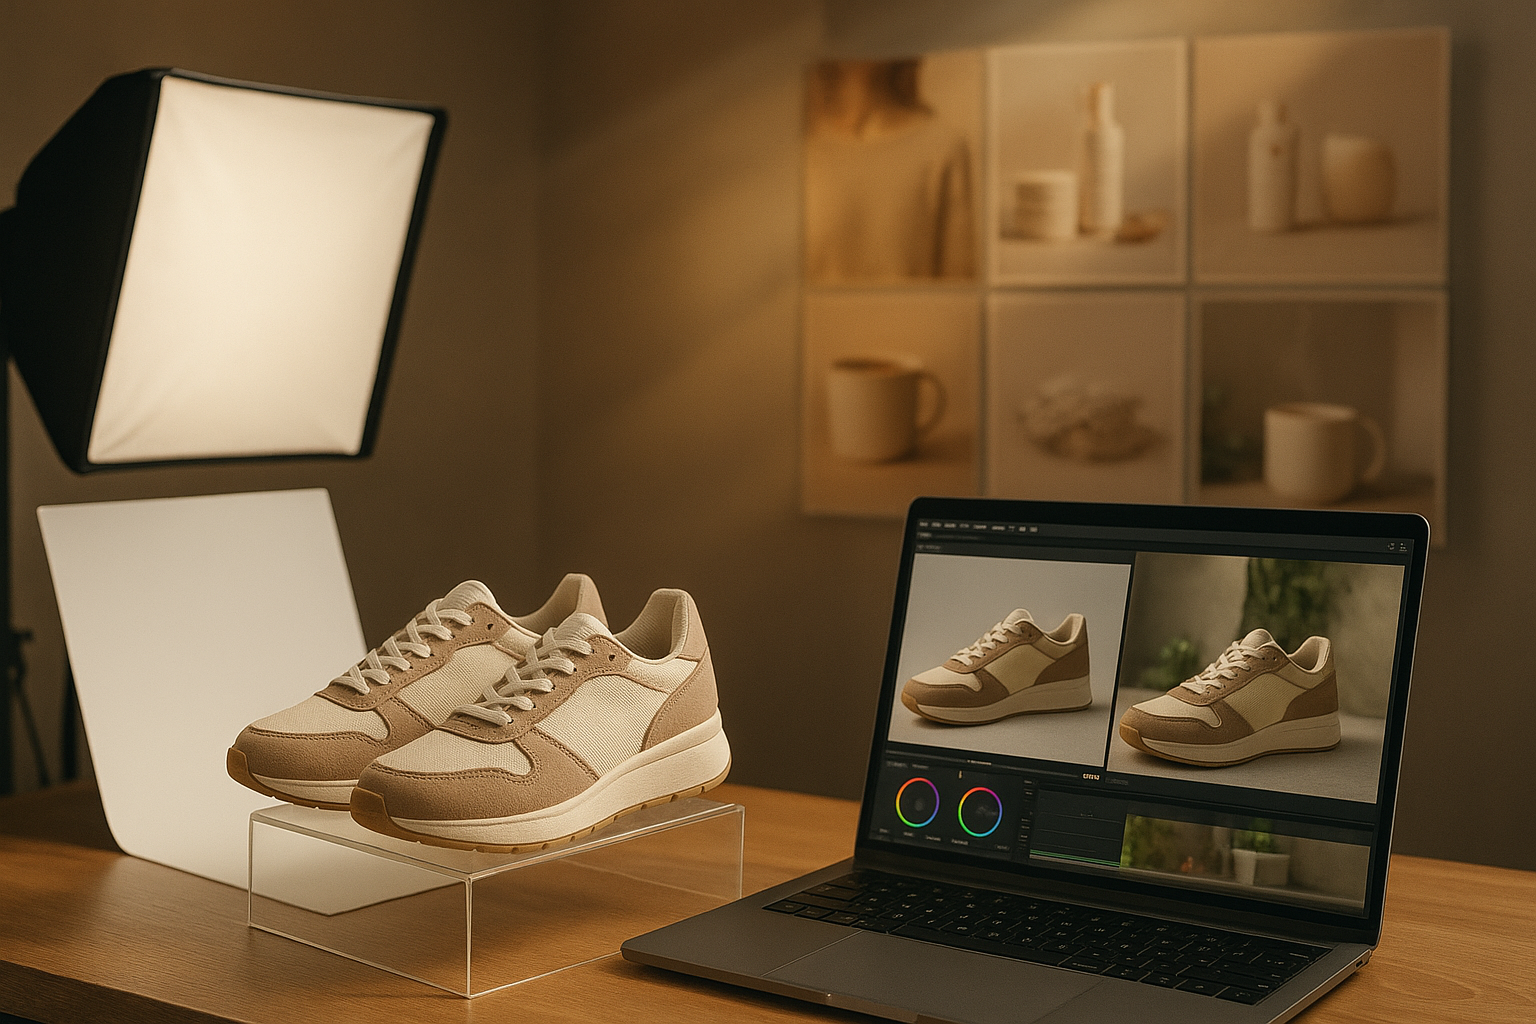
Pre-shoot checklist: plan once, reuse forever
- Define the buyer and use case: What matters most — texture, fit, or scale?
- Shot list: Hero on plain background, 45° angle, detail macro, back/underside, in-hand or in-use for scale, and at least one lifestyle image.
- Brand rules: Background hues, shadow style (soft vs. crisp), crop ratios, and margin spacing.
- Props and surfaces: Neutral sweep (white/gray), a lifestyle surface (wood, stone, linen), and 1–2 relevant props max to avoid clutter.
- Gear basics: Smartphone or mirrorless, tripod, remote/2s timer, white bounce card, lint roller, microfiber cloth.
Quick base settings (adjust to light):
- Focal length: 50mm equivalent to avoid distortion (phone users, step back and zoom slightly).
- ISO: 100–400; Shutter: 1/125s+ on tripod; Aperture: f/5.6–f/8 for sharpness.
- White balance: Set to your main light (avoid mixing daylight and tungsten).
Lighting made simple (and consistent)
- Window light setup: Place your product near a large window, light coming from the side, use a white foam board opposite to fill shadows. Add a top card for gentle highlights.
- Two-light studio: Key light with softbox at 45°, fill with reflector or a weaker light, and a subtle backlight to separate the product from the background.
- Kill glare: Use a polarizing filter or slightly angle glossy products; diffuse the key light with extra diffusion.
Shooting workflow that reduces retouching
- Prep the product: Dust, de-wrinkle, remove stickers, polish reflective items.
- Lock the frame: Tripod and consistent distance; mark positions with tape.
- Capture the set: Hero plain, 45°, detail macro, packaging, in-hand scale, and a lifestyle variant.
- Check color: Use a gray card on the first frame for consistent white balance.
- Overdeliver: Shoot 2–3 variations of each angle; you will thank yourself at edit time.
Edit for trust and conversions
- Crop and ratio: Keep a consistent aspect (1:1 square or 4:5 portrait). Many catalogs standardize on square for thumbnails.
- Background cleanup: Remove dust, scratches, and stray hairs. Maintain natural shadows to avoid the 'floating' look.
- Color accuracy: Match to the real product; shoppers return items when colors are off.
- Sharpening and noise: Subtle sharpening for edges; denoise only as needed.
- File format and size: Export 2000–3000px on the long edge, sRGB, use WebP or optimized JPEG. Keep images under ~300KB where possible.
- Accessibility and SEO: Write specific alt text: 'Blue ceramic mug with matte finish, 12oz, side handle, on white background.'
Where AI saves hours (and makes your photos sell harder)
Manual retouching is slow and pricey. With Supra AI Photo Studio, you can go from raw shots to high-converting visuals in minutes — all inside your Shopify workflow. Try it from the Shopify App Store listing.
Key ways it accelerates your pipeline:
- Background remover and replacement: Create clean, on-brand backdrops while keeping natural shadows.
- Auto enhance: Denoise, deblur, and correct lighting instantly for crisp, consistent results.
- Object placement: Drop the product into lifestyle scenes (kitchen, boutique, outdoors) with correct perspective and lighting.
- AI model try-on: Put apparel and accessories on realistic models; adjust pose, skin tone, and body type while preserving product details.
- UGC and b-roll videos: Generate scroll-stopping clips for ads, Reels, and PDP media galleries.

A fast, repeatable editing workflow in Supra
- Upload or pick a product image inside the app.
- Isolate product: Remove the background to help the AI understand the subject.
- Enhance: Hit auto enhance to fix exposure and sharpness.
- Create variants:
- Export: Generate consistent crops and file sizes; publish directly to the product.

Want a peek at the interface? Here is the editor layout you will use to manage tools, gallery, and exports in one place:
https://supra-ai-photo-studio.sktch.io/images/help/editor-overview.webp
Pro tips for consistent results:
- Keep a style guide inside the app: background color codes, crop ratios, and margin rules.
- Batch variations: Create a studio set and a lifestyle set for every SKU to serve both PDP clarity and ad creative needs.
- Add video: Turn hero angles into quick UGC-style videos and b-roll for social ads and PDP carousels.
Learn more features and pricing on the Supra AI Photo Studio App Store page. There is a free plan to get started, so you can test it on a few SKUs before going all-in.
PDP optimization checklist (before you publish)
- Thumbnails: Clean square image with even margins.
- Hero: Sharp, color-true, no clutter; clear background.
- Detail images: Macro of texture, closures, ports, labels.
- Scale: In-hand or next to a common object.
- Lifestyle: Contextual scene that matches buyer intent.
- On-model (if apparel): Front, side, back; multiple body types when possible.
- File names: include product and variant (e.g., mug-blue-12oz-hero.webp).
- Alt text: Descriptive and specific.
- Performance: Compressed files; lazy load in theme.
Test, measure, refine
- A/B test hero images: Plain studio vs. lifestyle, different angles, or background tones.
- Track: Add-to-cart rate, PDP time-on-page, scroll depth, and image carousel interactions.
- Iterate: Keep what wins; roll out the style across categories to lift overall conversion.
Turn plain shots into sales assets today
You can build a complete, conversion-focused product photo system with a simple studio setup and a fast AI editor. Start your upgrade now with Supra AI Photo Studio on the Shopify App Store or explore the full feature set at the official site. Your products will look better, publish faster, and convert more consistently.