
How I Split Video Rendering Between Browser, Server, and Live Preview With VideoFlow
I used to treat video like a single export problem. In practice, it was three separate jobs: I needed a fast preview while I was building, an in-app export path for lightweight jobs, and a server renderer for queued or batch work. VideoFlow gave me a way to keep one project as portable data and choose the renderer late, which is the part that made the workflow manageable.
I started with the docs, the core docs, and the playground, while keeping the GitHub repo open in another tab. The product is open source under Apache-2.0, and that matters to me because I want a stack I can inspect instead of a black box.

One Scene, One Source Of Truth
The thing I wanted most was a scene definition I could review like code. VideoFlow's core builder lets me describe a video in TypeScript, compile it to VideoJSON, and keep that structure portable instead of tying it to one renderer.
import VideoFlow from "@videoflow/core";
const $ = new VideoFlow({
name: "Launch Video",
width: 1920,
height: 1080,
fps: 30,
});
$.addText(
{ text: "New release", fontSize: 7, fontWeight: 800 },
{ transitionIn: { transition: "overshootPop", duration: "500ms" } }
);
const json = await $.compile();
const blob = await $.renderVideo();
That is the operating model I wanted: compile once, render wherever the job belongs.
If you want the more review-first version of this idea, I wrote about How I Build a Reviewable Video Pipeline Around VideoJSON and How to Build a Video Workflow Around a Single JSON Contract.
The Three Renderers I Actually Care About
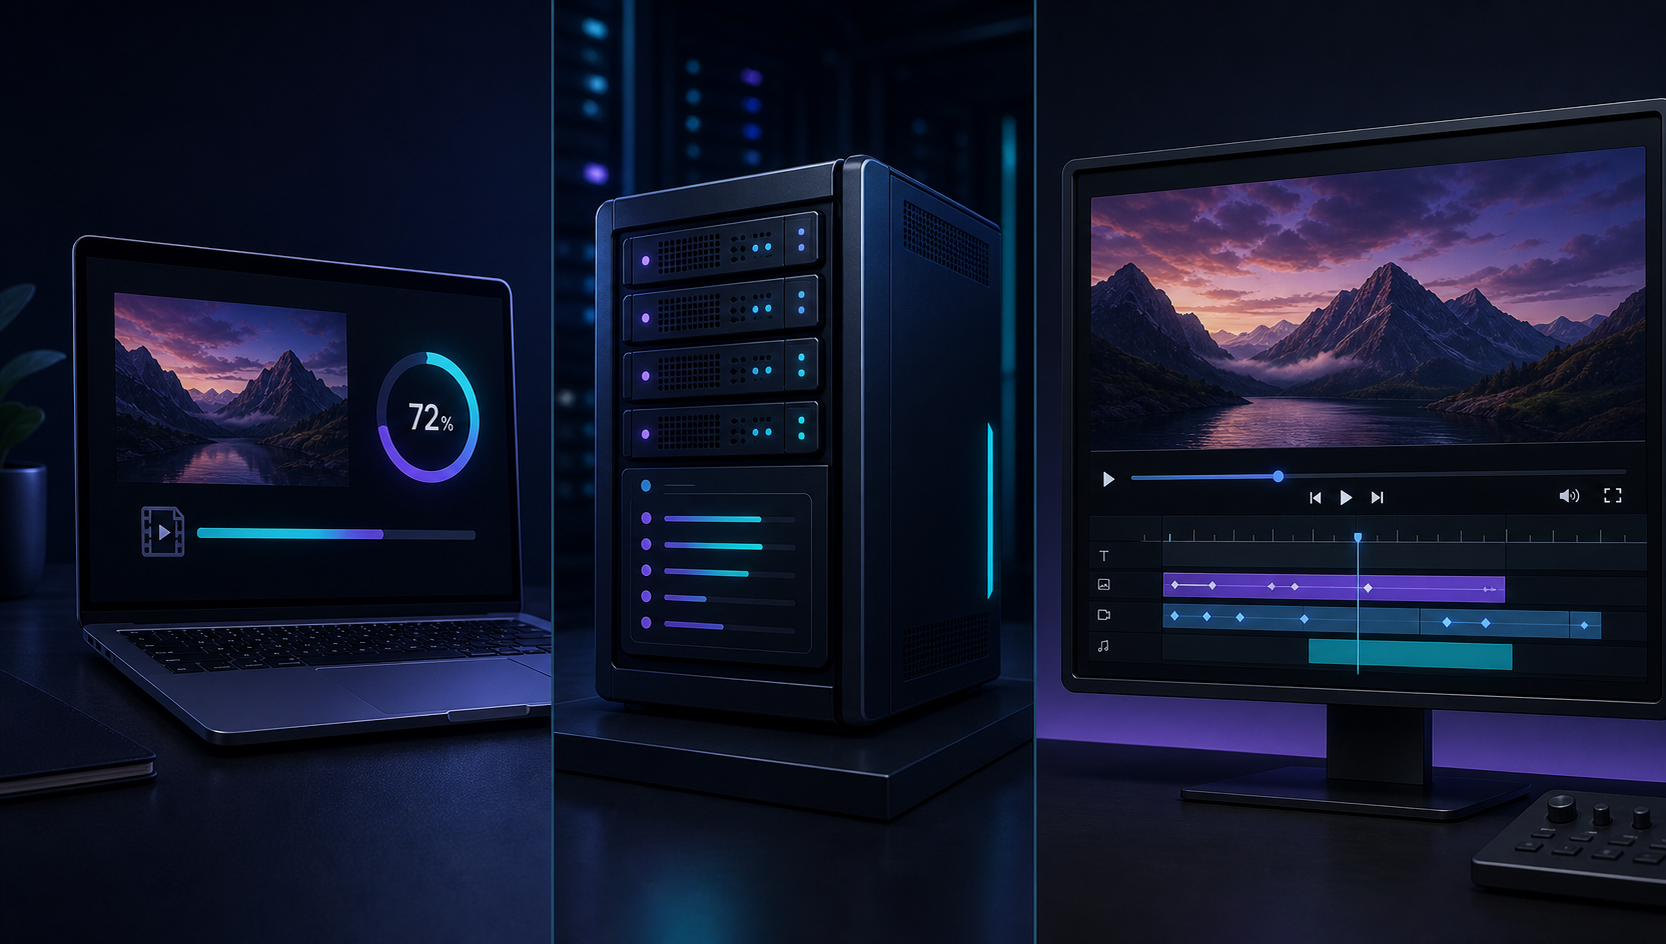
This is the part that changed my architecture. I stopped asking, "Which renderer is best?" and started asking, "Where should this job run?"
| Target | I use it when | Why it wins |
|---|---|---|
| Browser renderer | Export stays inside the app | No upload step, lower server cost, and progress or cancellation fit the user experience |
| Server renderer | I need queues, APIs, or batch jobs | Headless rendering is better for throughput and scheduled work |
| Live DOM preview | I need human review before export | Frame-accurate preview, scrubbing, and a WYSIWYG editor loop |
VideoFlow's renderer split is practical, not theoretical. The browser renderer supports progress callbacks, AbortController cancellation, and worker acceleration. The server renderer uses headless Chromium/WebCodecs by default and can optionally use FFmpeg. The DOM renderer gives me live 60 fps preview, scrubbing, frame-accurate seeking, audio sync, and Shadow DOM style isolation.
That is why I linked back to How to Choose the Right VideoFlow Renderer for a Project while I was working through this. The right answer is usually about where the job fits, not which backend sounds more impressive.
When I Add A React Editor
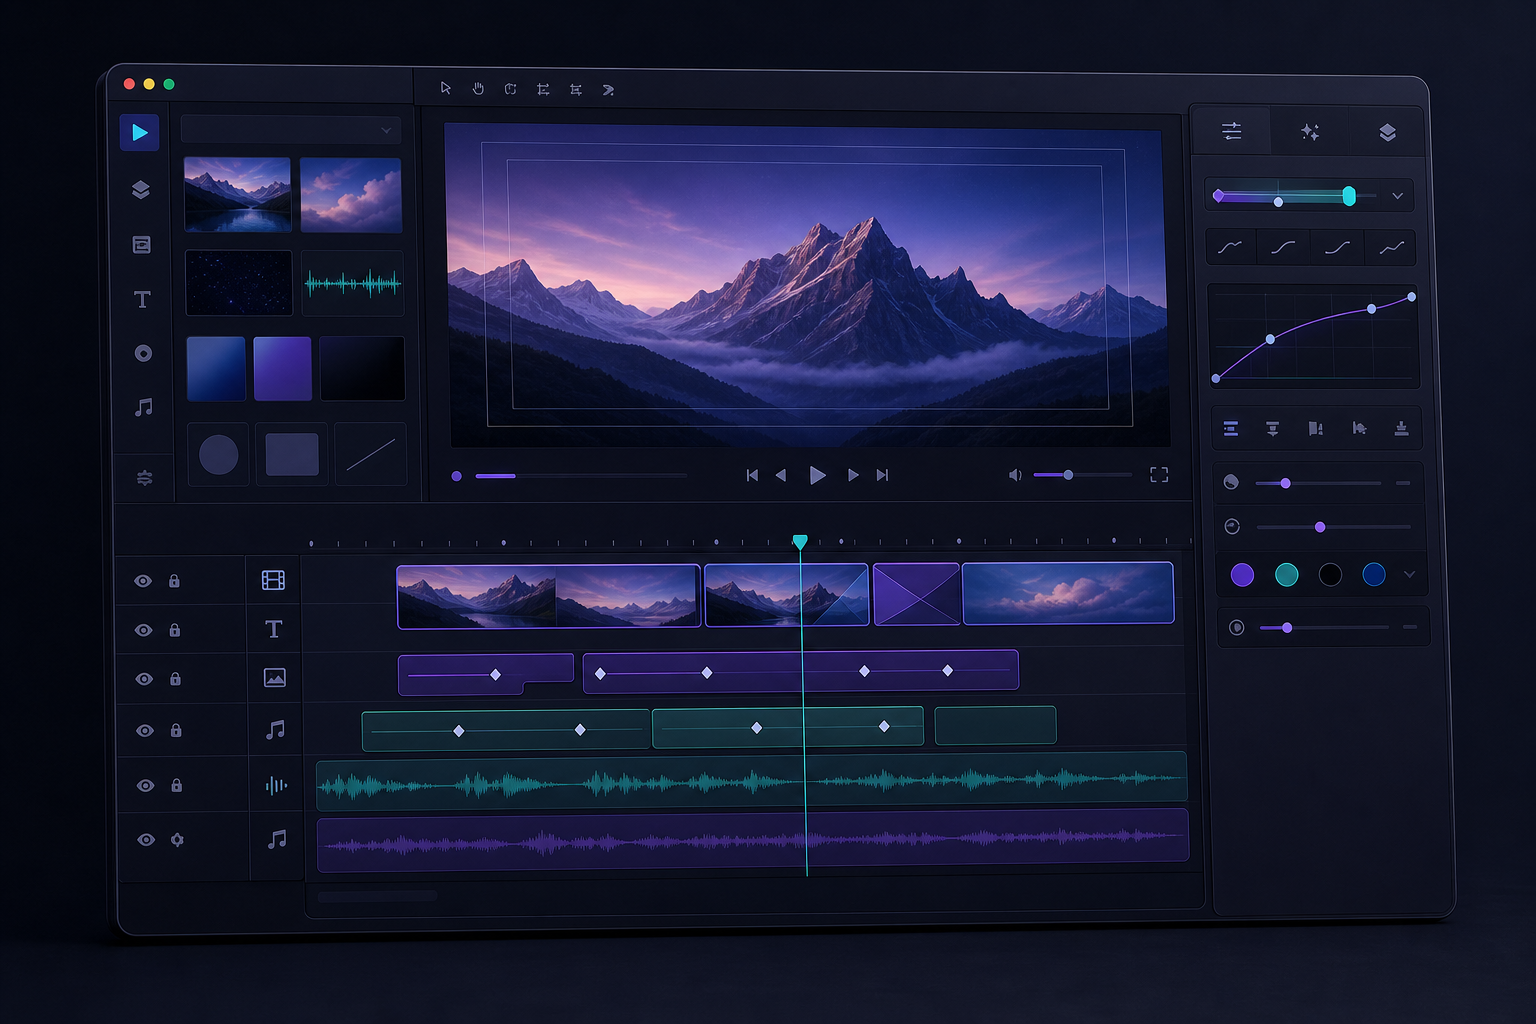
When the product needs user edits, I do not build a custom timeline from scratch. I use the optional React editor component instead. It gives me a multi-track timeline, drag/trim/snap/reorder interactions, keyframe controls, an inspector, undo/redo, uploads, built-in themes, and MP4 export.
That matters when the user is not a developer. The core can stay JSON-first and renderer-agnostic, while the editor gives the app a way to manipulate the same structure visually. In other words, the editor is not a separate system; it is a different front end on the same video model.
Why The Template Stays Maintainable
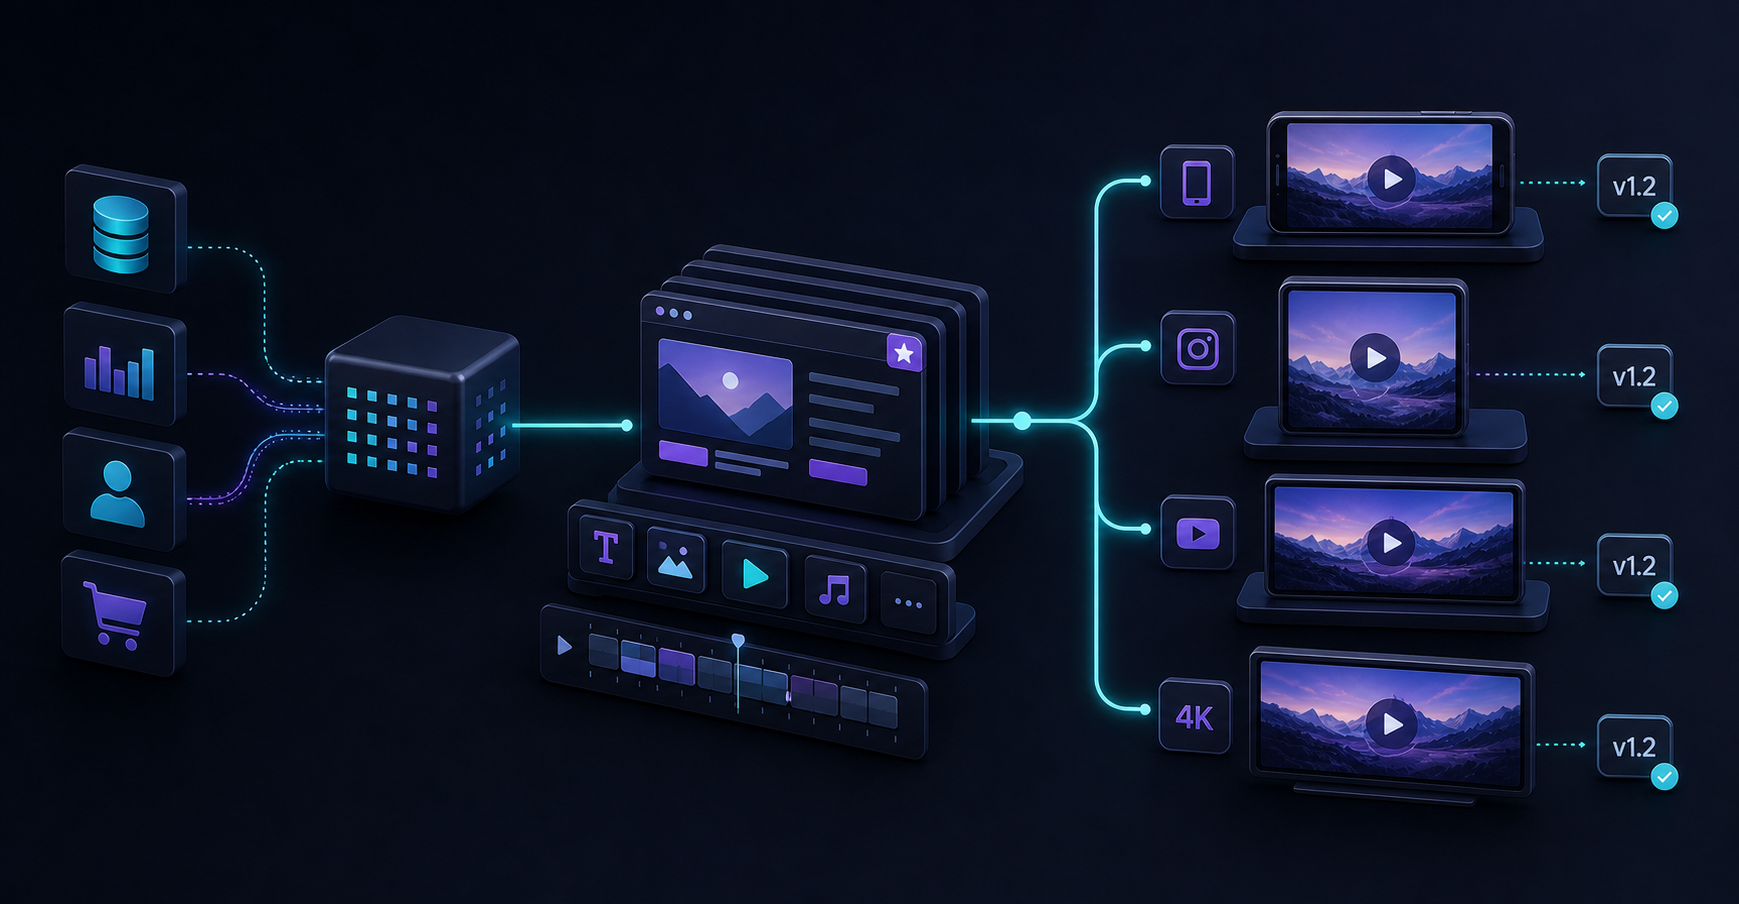
The maintenance win for me is that the project stays diffable. A change to the template shows up as data, not as a hidden trail of timeline mutations. That makes reviews easier, and it makes it less likely that a preview and a final export drift apart.
If you are trying to keep the workflow reviewable, the earlier posts that helped me most were How to Set Up a Portable VideoJSON Workflow in VideoFlow and How to Build a Video Workflow Around a Single JSON Contract. The common thread is simple: keep the source of truth structured enough that a person can inspect it and a renderer can consume it without translation headaches.
What I Use Now
My default rule is straightforward:
- Keep the scene definition in VideoJSON.
- Use the browser renderer when the export belongs inside the app.
- Use the server renderer when throughput or scheduling matters.
- Use the live DOM preview when a human needs to approve the result.
- Add the React editor only when the product needs a visual editing surface.
That is a smaller surface area than maintaining three separate video implementations, and it is easier to reason about when the template changes.
If you want to try the same setup, I would start with the core docs, then test a scene in the playground, and finally decide whether the renderers docs or the React video editor should come next. That path keeps the decision practical instead of abstract.