How I Built a Shopify Photo Workflow That Replaces Manual Retouching
I used to break Shopify product visuals into separate chores: clean the cutout, fix the lighting, create a lifestyle shot, then make a video variant if there was time. That is fine when you have a designer or retoucher on standby. It gets old fast when you need consistent visuals across a catalog and you are working from one decent source photo.
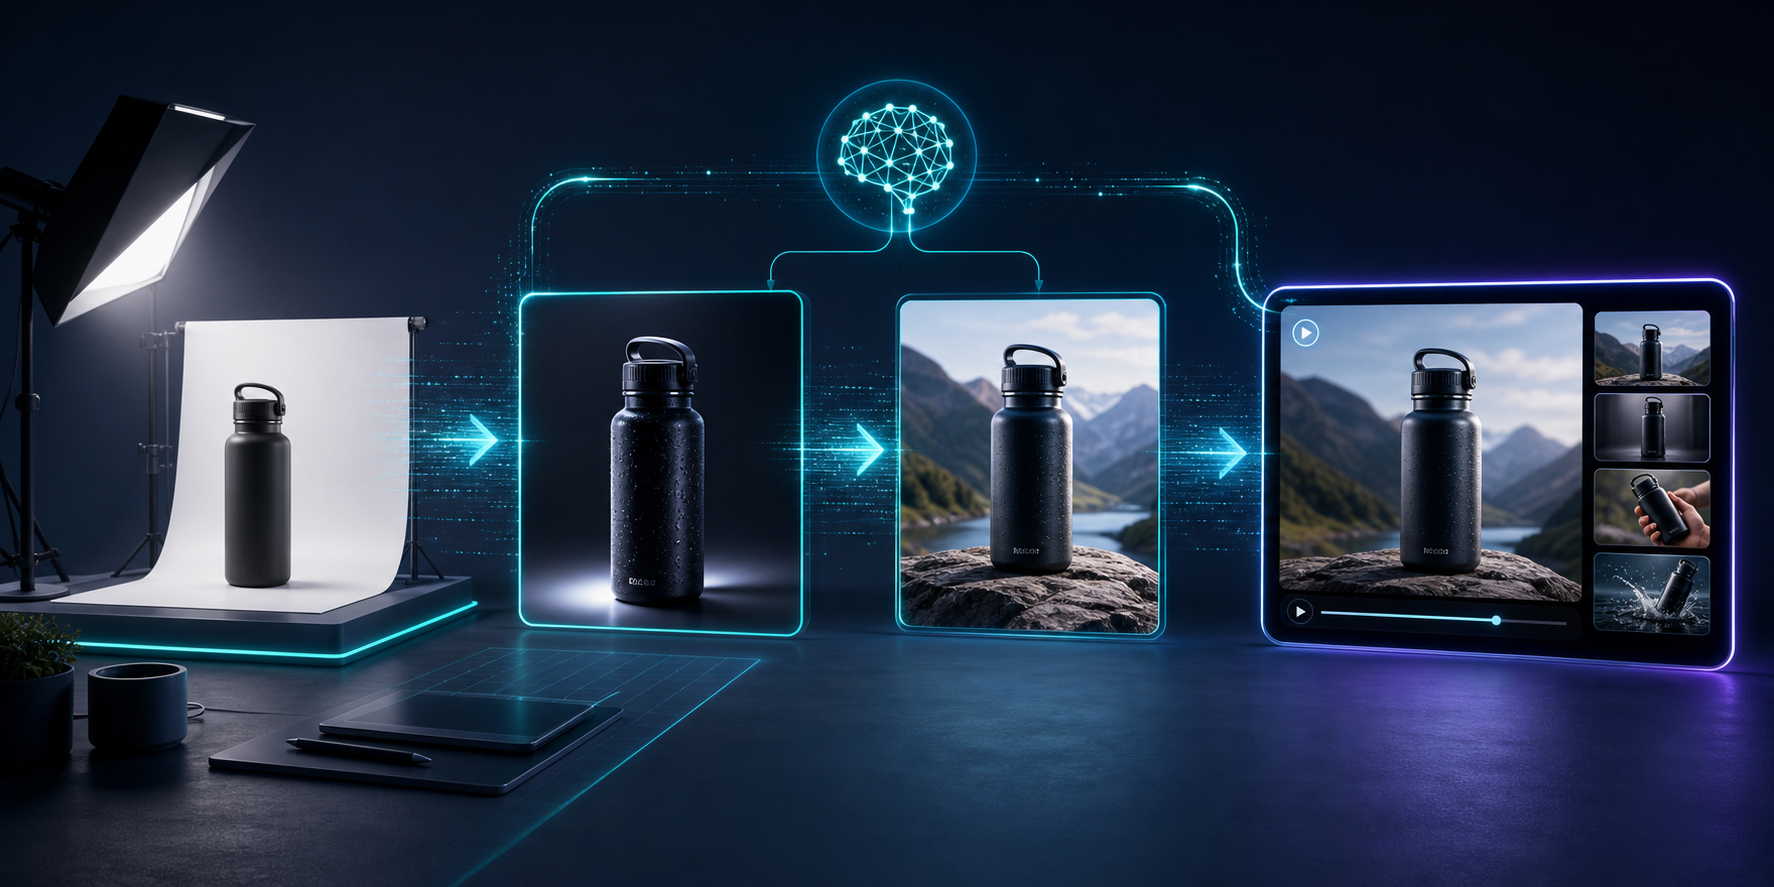
What I wanted instead was one repeatable image workflow I could run inside Shopify. That is what Supra AI Photo Studio is for. The app sits on Shopify, has a landing page, and covers background removal, upscaling, auto-enhance, model try-ons, object placement, mockups, UGC videos, and b-roll videos. There is also a free plan, which makes it easy to test the workflow before you commit.

The short version
Normalize the source image first, then decide which output you actually need.
- Clean the file.
- Improve the source image.
- Add context.
- Export for catalog, ads, or social.
If you do those steps in the wrong order, you just make a polished version of a bad source photo.
1. Start with the cleanest source shot
The app works best when you give it a photo that already has the product framed clearly. That is why I start by stripping the obvious distractions first. If the image is soft, dark, or messy around the edges, the enhancement tools have to work harder than they should.
The editor layout is set up for that kind of flow: tools on one side, canvas on the other, and a gallery for the product's image set. That keeps the workflow close to the product instead of bouncing between separate apps just to remove a background or check a version.
What I would do first:
- remove or replace the background,
- upscale if the source file is small,
- run the auto-enhance pass for color and lighting,
- only then move into styling.
2. Use object placement when the product needs context
Once the file is clean, object placement is the quickest way to test whether a product belongs in a studio setup, a boutique, a kitchen, or outdoors. That matters because a lot of Shopify images fail not from bad photography, but from missing context. Buyers need to see scale and feel.

This is where I would use Supra for products that are easier to understand in a scene than on a white background. Home goods, accessories, cosmetics, and other products that benefit from environmental context are a good fit.
3. Reach for try-on when the product is wearable
If the product is fashion, jewelry, or accessories, try-on is the feature that changes the workflow most. Instead of creating a one-off mockup, you can move faster from the base product image to a believable on-model asset.

I like this because it reduces the “we need a shoot” reflex. Not every new SKU deserves a full production day. Sometimes you just need a clean on-model image that is consistent with the rest of the catalog.
4. Add video only after the stills are sorted
Video is where a lot of teams jump too early. I would rather get the still image system right first, then generate UGC-style clips or b-roll from the same product photo once the visual direction is settled.
That gives you a cleaner asset stack:
- one source image,
- a set of catalog-ready stills,
- a lifestyle version,
- and a short video for ads or social.
The demo trailer is useful if you want to see how the app presents that workflow before you test it on a live product.
5. Decide what to produce based on where it will be used
The point is not to generate every format every time. The point is to make the right format quickly.
| Use case | Best output |
|---|---|
| Product page hero | Clean enhanced still |
| Collection page | Background-removed image |
| Lifestyle landing page | Object placement scene |
| Apparel detail page | Try-on image |
| Paid social or short-form ads | UGC or b-roll video |
That decision table keeps the workflow from getting bloated. If the team always knows which output solves which problem, you spend less time chasing “maybe we need another version” revisions.
Where this fits in a bigger Shopify image system
This is the same basic pattern I keep seeing in one-photo workflows: clean the source, generate only the formats you need, and keep the whole thing close to the product data instead of in a separate design queue. I’ve written about that in How to Build a Repeatable Shopify Image Workflow From One Product Shot, How to Turn One Product Photo Into a Full Shopify Image Set, How I Turn One Product Photo Into a Shopify Asset Pipeline, and How I Build a Shopify Visual System From One Product Photo.
When you stack those posts together, the shape is consistent: one product photo becomes a small asset pipeline, not a one-off edit.
My practical rule
If I can get the image into a usable state with background removal, enhancement, and one contextual pass, I do that before I think about a new shoot. If I need video, I use the same source photo to produce a short variant after the stills are decided.
That is the simplest way I know to keep Shopify visuals consistent without turning every product update into a design project.
If you want to test the workflow, start with the Supra AI Photo Studio app listing or the landing page, run one product through it, and build the smallest version of the process first.